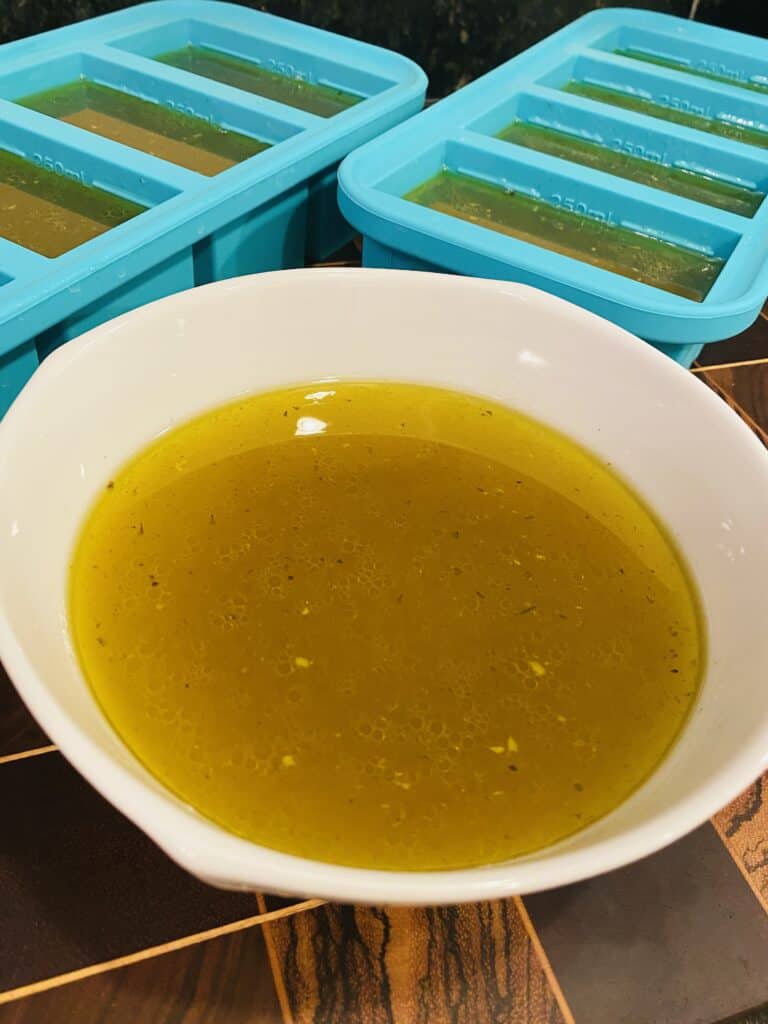
Stop buying seasoned rice packets or cans of soup and start making your own homemade chicken stock. Chicken stock can replace water in almost every recipe you make, and it helps add a depth of flavor to any dish. Make your own soup, use it in risotto, or flavor your rice or grains with your homemade stock. While the process is a little time consuming, homemade is so much better than store bought because it tastes better, you are able to control the ingredients, and it saves you money over time.
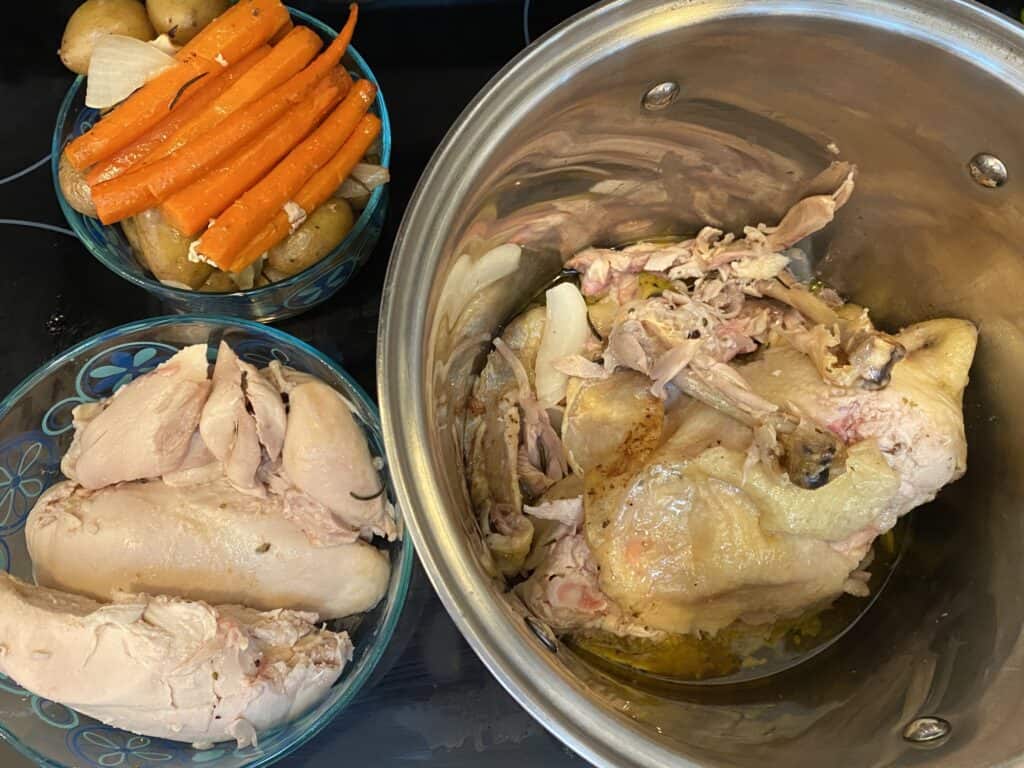
Homemade chicken stock is a staple that is always in my freezer as part of my meal prep. Whenever I bake a whole chicken (about once a month), I use the chicken carcass to make a stock and put some of the left over cooked chicken in the freezer. This allows me to make quick chicken meals throughout the month, and I have stock ready to go without wondering if I have another box in the pantry.
Chicken stock vs broth
Before we get into this basic chicken stock recipe, let’s explain the difference between chicken stock and chicken broth. Chicken broth refers to cooking raw chicken and bones (along with vegetables) in the water to flavor the water and create the broth. Chicken stock, the method we are describing here, consists of boiling already roasted chicken bones with vegetables to flavor the water into a stock.
If you read about the nuanced differences between stock and broth, you will also find that stock is often left unseasoned so that you can control the flavor when you are using it in cooking a subsequent dish. Since I am not making my stock for a commercial audience, I season it with herbs and spices that I have, which I guess makes this recipe a bit of a cross between a stock and a chicken broth.
There’s really no wrong way to make your stock when you’re cooking for your own family. I like to add any fresh herbs that are starting to wilt in my fridge, such as parsley, rosemary, bail, as well as salt and pepper to help bring out the flavors of the chicken and vegetables.
A big benefit of making homemade chicken stock is being able to control the ingredients, especially the salt content, that I’ll be consuming. When you make and freeze your own stock, there are no preservatives or additives to your food. It also feels good to get double use out of the chicken carcass, and it saves you money! You’ve already paid for the whole chicken, by not having to buy boxes of broth, your chicken will pretty much pay for itself over time by having free homemade chicken stock!
Freeze your homemade chicken stock to use later
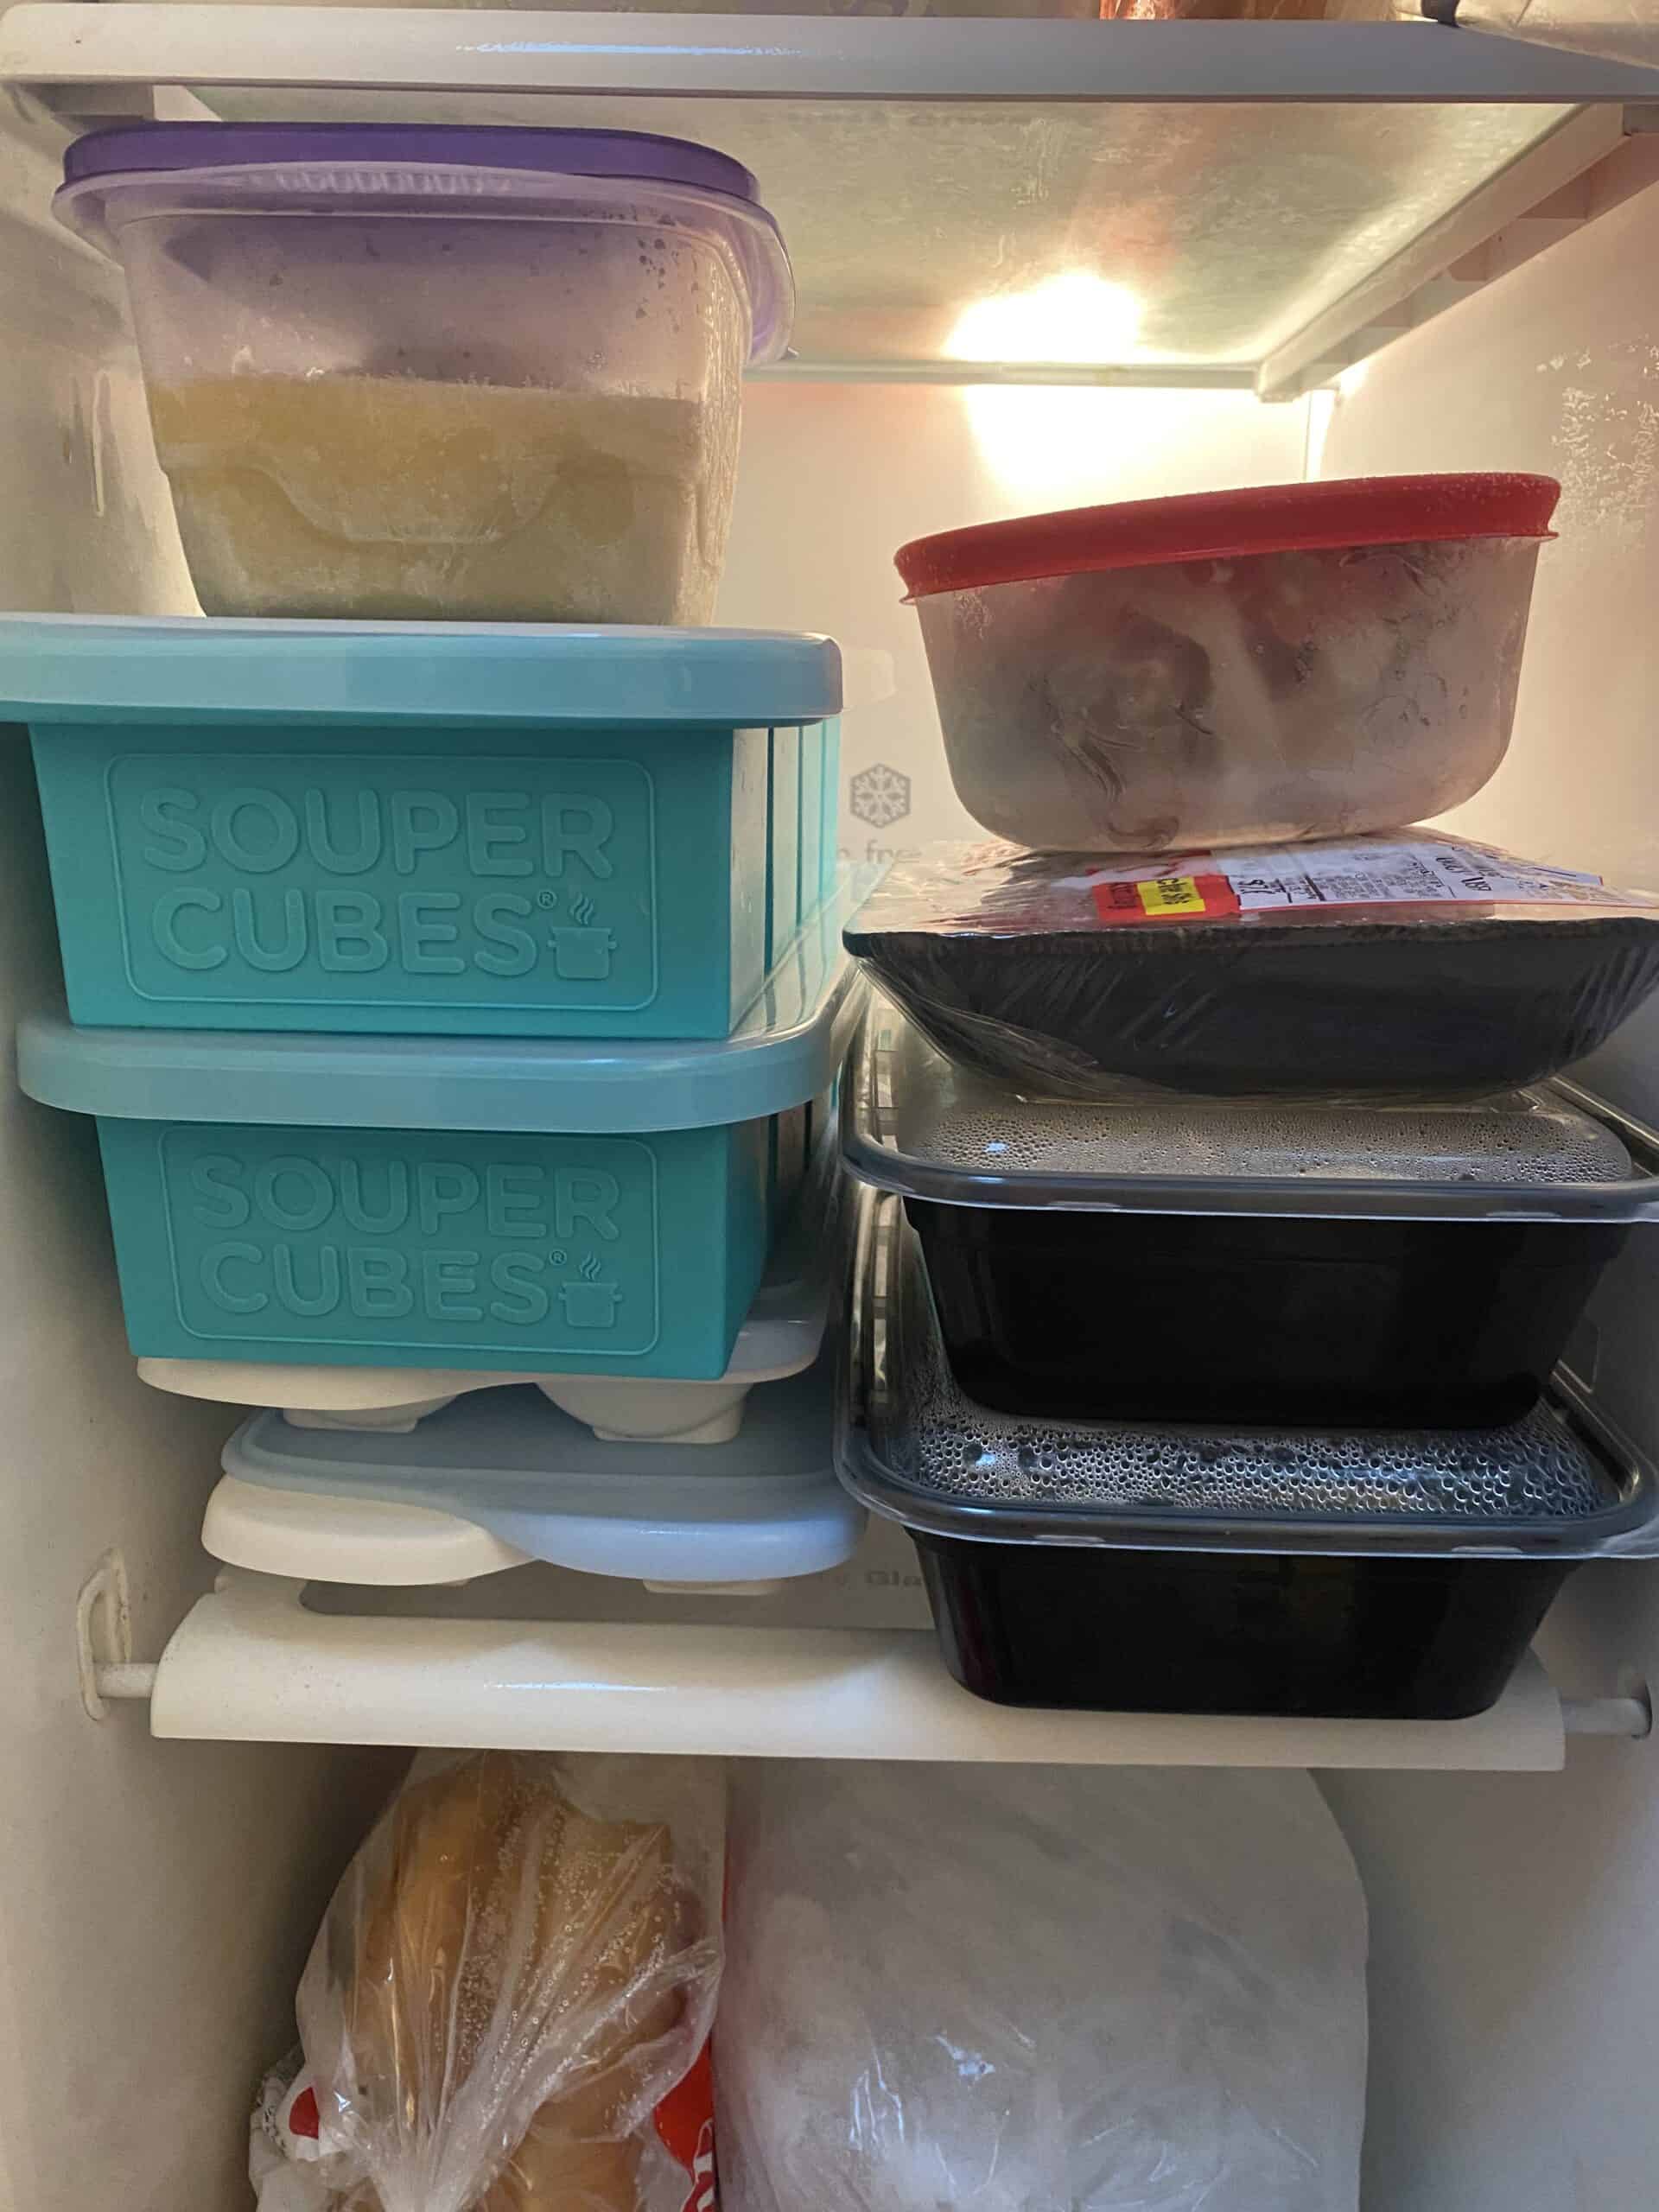
I used to freeze my chicken stock in freezer bags, measuring one to two cups per bag, and that works just fine; however now I have a few Soupercube trays, which allow you to freeze in one cup bricks, which has been a game changer for me. The broth is easy to store in the freezer, and it is already in one cup blocks when I need to use it later. I can pop a cup out of the silicone tray and right into the pot I’m using to cook.
It’s easier to pop the the frozen stock out of the silicone tray than it is to run water over a bag to loosen the frozen liquid from the creases before it will slide out. If you end up freezing broth or other soups regularly, I highly recommend giving Soupercube a try!
Homemade Chicken Stock
Course: Soup and Salad12
servings30
minutes3
hours300
kcalIngredients
Carcass or bones of a chicken with some meat left on the bones
1 onion, quartered
2-3 carrots, cut in half or thirds
2-3 celery stalks, cut in half or thirds
Fresh herbs of choice, such as parsley, rosemary, thyme, oregano, sage
2-3 garlic cloves, slightly smashed (optional)
10 – 12 cups of water
Salt and pepper, to taste
Directions
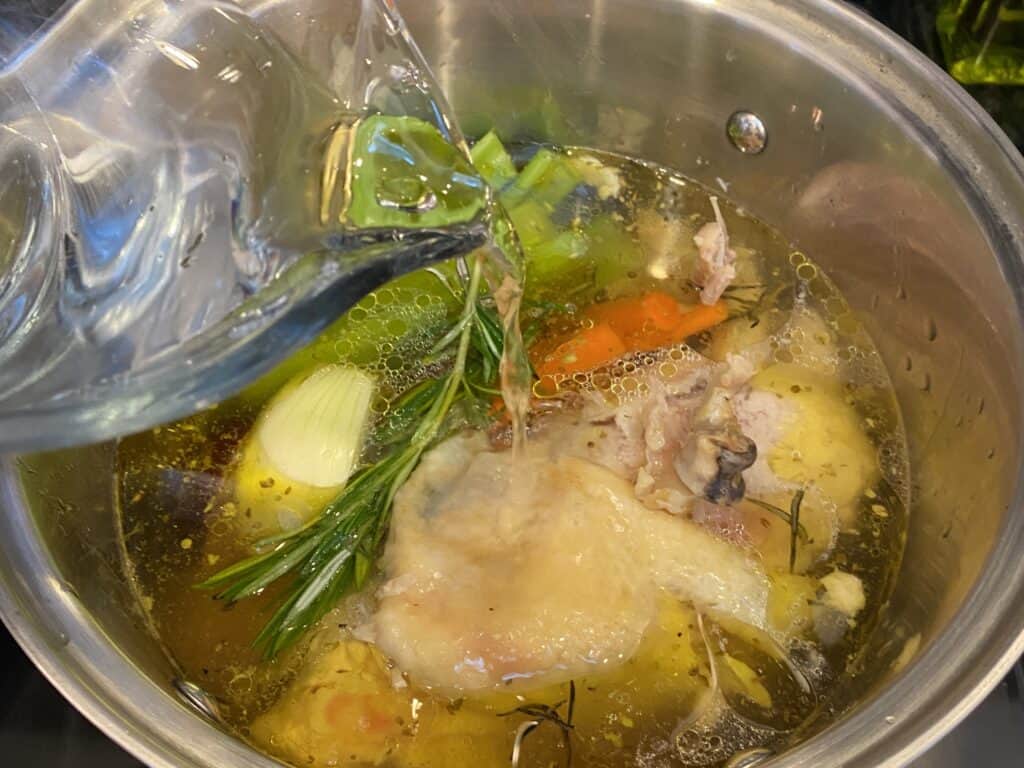
- Place chicken carcass or bones in a large pot with the vegetables and herbs.
- Cover the ingredients with 10 – 12 cups of water (or more if your pot allows)
- Add a generous amount of salt and pepper and bring to a boil.
- Simmer the broth for at least 2 hours, or for as long as you like (see note). Leave a lid ajar on your pot to help retain water but allow steam to escape, stirring the broth every 30-45 minutes. Add more water if too much evaporates and the ingredients are no longer covered.
- After 2 hours, taste the broth and add more salt and pepper, to taste. You can also add dried herbs and other seasoning such as garlic and onion powder to your liking.
- Let the broth simmer until it tastes flavorful (like a chicken broth!). Take off the heat and let cool.
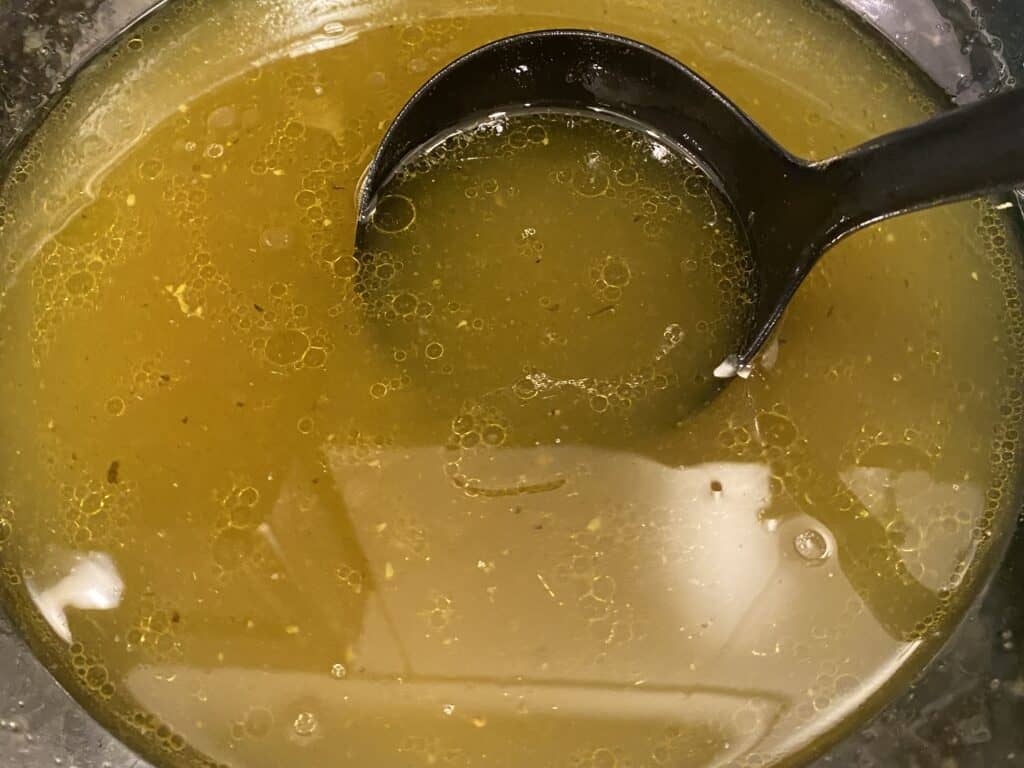
- Scoop out the bones and large pieces of vegetables. Strain the broth to remove all of the small particles, leaving just the stock liquid.
- Ladle the broth into 1-2 cup portions using small containers or plastic bags. Label and date the containers and freeze.
Notes
- If you don’t want to go through the hassle of roasting a whole chicken, chicken parts with bones works just as well. After you cook the chicken, remove most of the meat from the bones and use the bones in the broth the way you would a whole carcass. You can even boil the chicken and bones right in the water without cooking it first. Boil the chicken until it falls off the bones. Scoop the chicken out and save for future meals and let the bones keep simmering with the vegetables in the broth.
- The longer you simmer the chicken stock, the more flavorful it will be and the more nutrients will seep out of the bones. You can simmer the bones in the stock for up to 24-48 hours to create a real bone broth, at which point the bones will become gelatinous. That’s not what we are going for here, but the point is you can’t really over cook your chicken stock! Let it simmer for as long as you have time.
- Once the broth cools, the fat from the chicken will begin to rise to the top. This fat will solidify in the fridge or freezer as a layer on top of the broth. If you want to reduce the amount of fat in your broth, let the broth cool in the fridge in larger bowls before separating it into portions for the freezer. This will allow you to scoop off the solid layer of fat before portioning out the rest of the broth to freeze.

